
Floor strip and seal is a process that involves removing old floor finish, applying a new layer of sealant, and adding multiple coats of finish to create a protective and aesthetically pleasing surface. While professional assistance is often recommended for complex projects, smaller-scale installations can be approached as a DIY project with careful planning and attention to detail. In this article, we’ll guide you through 10 easy steps to installing floor strip and seal.
1. Gather Materials and Tools:
Start by gathering all the necessary materials and tools for the project. This includes floor stripper, neutral floor cleaner, a mop, floor sealer, finish, a high-speed burnisher, safety equipment (gloves and safety glasses), and appropriate floor scrubbing pads.
2. Clear the Area:
Before beginning the installation, remove any furniture or obstacles from the area to ensure a smooth and uninterrupted workflow. This will make it easier to access the entire floor surface and prevent any hindrances during the application process.
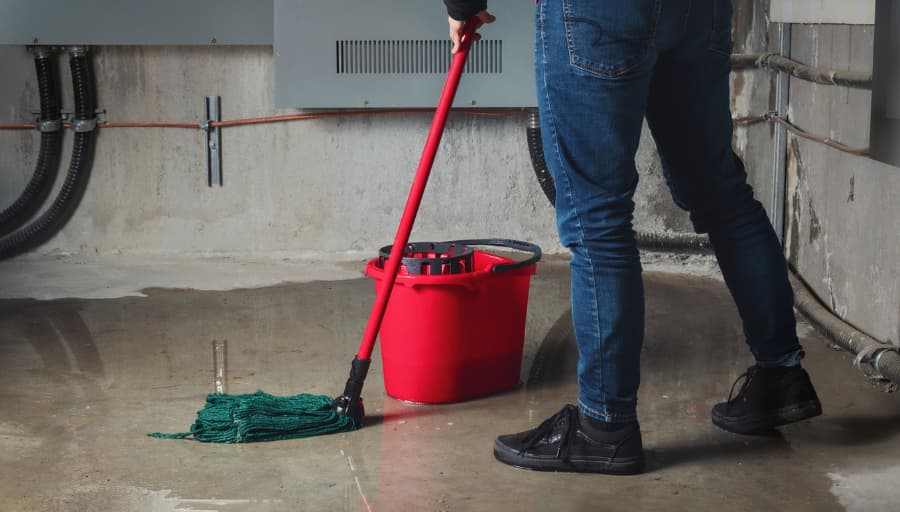
3. Clean the Floor:
Thoroughly clean the floor using a neutral floor cleaner and a mop. This step is crucial for removing dirt, debris, and any existing residues from the floor surface. Ensure that the floor is completely dry before proceeding to the next step.
4. Apply Floor Stripper:
Using the floor stripper, apply a liberal amount to the floor surface. Follow the manufacturer’s instructions regarding the dwell time – the duration the stripper should be left on the floor to effectively break down the existing finish. This generally ranges from 5 to 15 minutes.
5. Agitate and Remove Old Finish:
Use a floor scrubbing pad or a low-speed floor scrubber to agitate the floor stripper and loosen the old finish. This step is crucial for removing any existing sealant or wax from the floor. Once agitated, use a wet vacuum or mop to remove the dissolved finish and stripper from the floor.
6. Rinse and Neutralise:
Thoroughly rinse the floor with clean water to remove any remaining residue from the stripping process. Follow this by neutralising the floor using a neutralising agent or a mixture of water and a neutral floor cleaner. This step is essential to ensure that the floor is free from any chemical residue that could affect the adhesion of the new sealant.
7. Allow the Floor to Dry:
After rinsing and neutralising, allow the floor to dry completely before proceeding to the sealing and finishing steps. Ensure that the floor is entirely free of moisture to achieve optimal results.
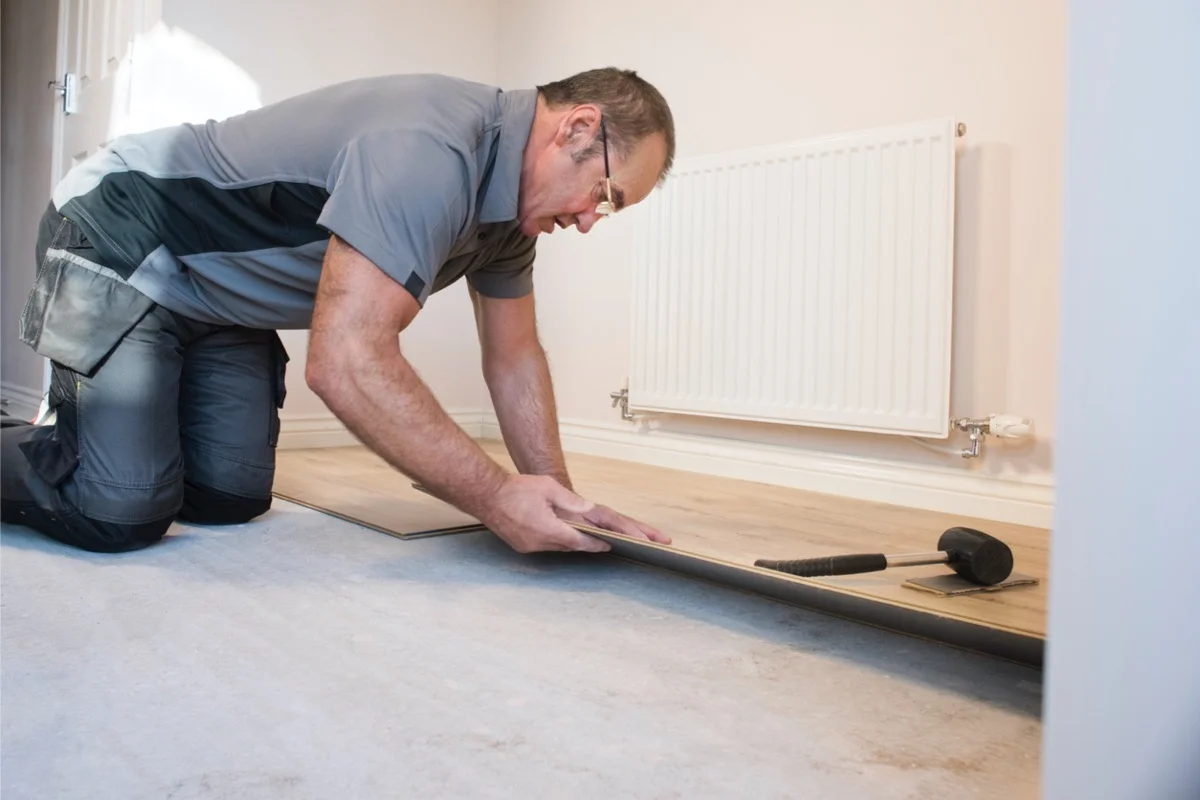
8. Apply Floor Sealer:
Using a clean mop or applicator, apply a thin, even coat of floor sealer to the dry floor surface. Work in small sections to ensure consistent coverage. Allow the sealer to dry completely before applying additional coats. Depending on the product, one to two coats of sealer may be sufficient.
9. Apply Finish Coats:
Once the sealer has dried, proceed to apply the finish coats. Similar to the sealer application, use a clean mop or applicator to apply thin and even coats of finish. Allow each coat to dry thoroughly before applying the next. The number of finish coats may vary based on the desired level of sheen and protection.
10. Burnish the Floor:
After the final coat of finish has dried, use a high-speed burnisher to buff and polish the floor. This step enhances the gloss and durability of the finish. Ensure that the burnisher is in good condition and follow safety guidelines when operating the equipment.
Additional Tips:
Work in a well-ventilated area and wear appropriate safety gear, including gloves and safety glasses, when handling chemicals.
Follow the manufacturer’s instructions for each product, including dwell times, drying times, and recommended application techniques.
Test a small, inconspicuous area before applying the floor stripper, sealer, and finish to the entire floor to ensure compatibility and desired results.
If you encounter stubborn spots or stains during the stripping process, use a floor scrubbing pad or brush to focus on those areas.
By following these 10 easy steps and incorporating additional tips, you can successfully install floor strip and seal to rejuvenate and protect your flooring. While this DIY approach is suitable for smaller areas, it’s important to seek professional assistance for larger or more complex projects to ensure optimal results and the longevity of your flooring.


Comments